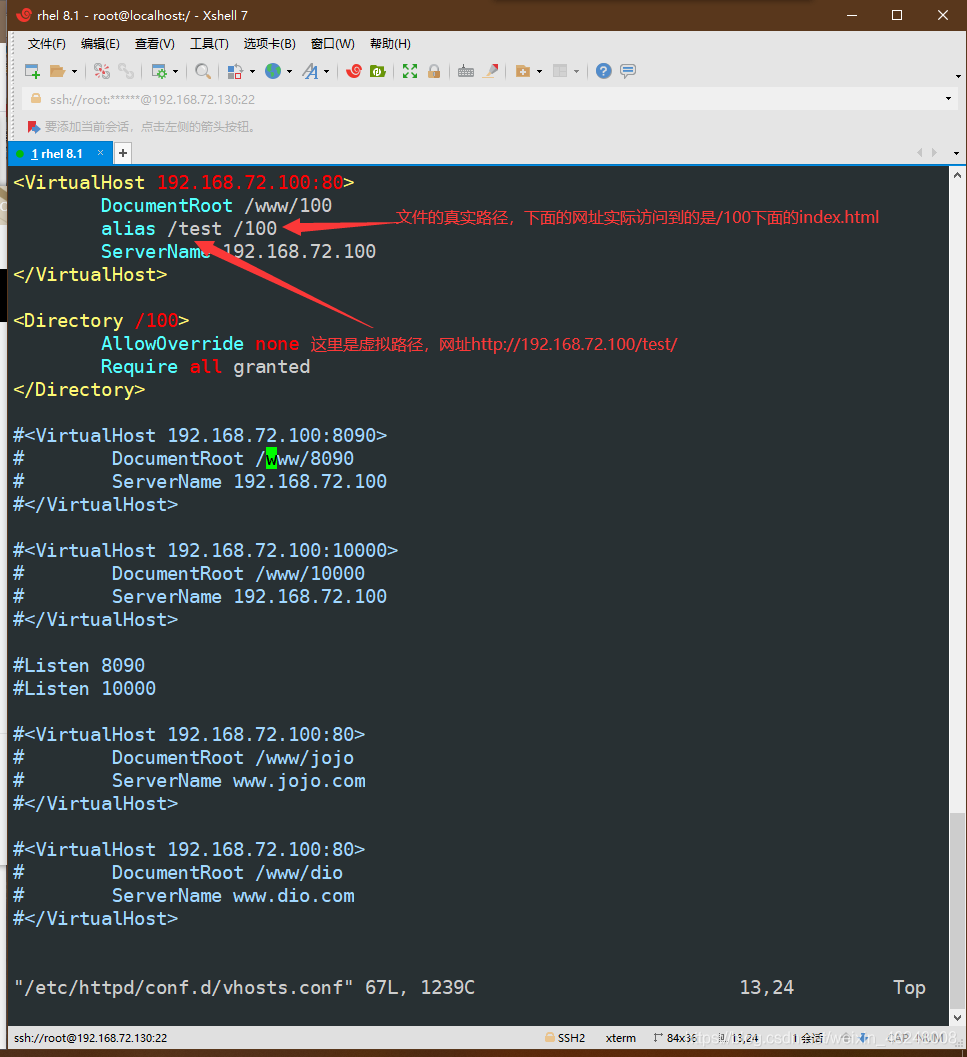
虚拟目录:
[root@localhost ~]# systemctl stop firewalld
[root@localhost ~]# setenforce 0
[root@localhost ~]# systemctl start httpd
[root@localhost ~]# vim /etc/httpd/conf.d/vhosts.conf
<VirtualHost 192.168.72.101:80>
DocumentRoot /www/101
alias /xuni /100
ServerName 192.168.72.101
</VirtualHost>
<Directory /100>
AllowOverride none
Require all granted
</Directory>
[root@localhost ~]# systemctl restart httpd
[root@localhost ~]# curl 192.168.72.101
this is 101
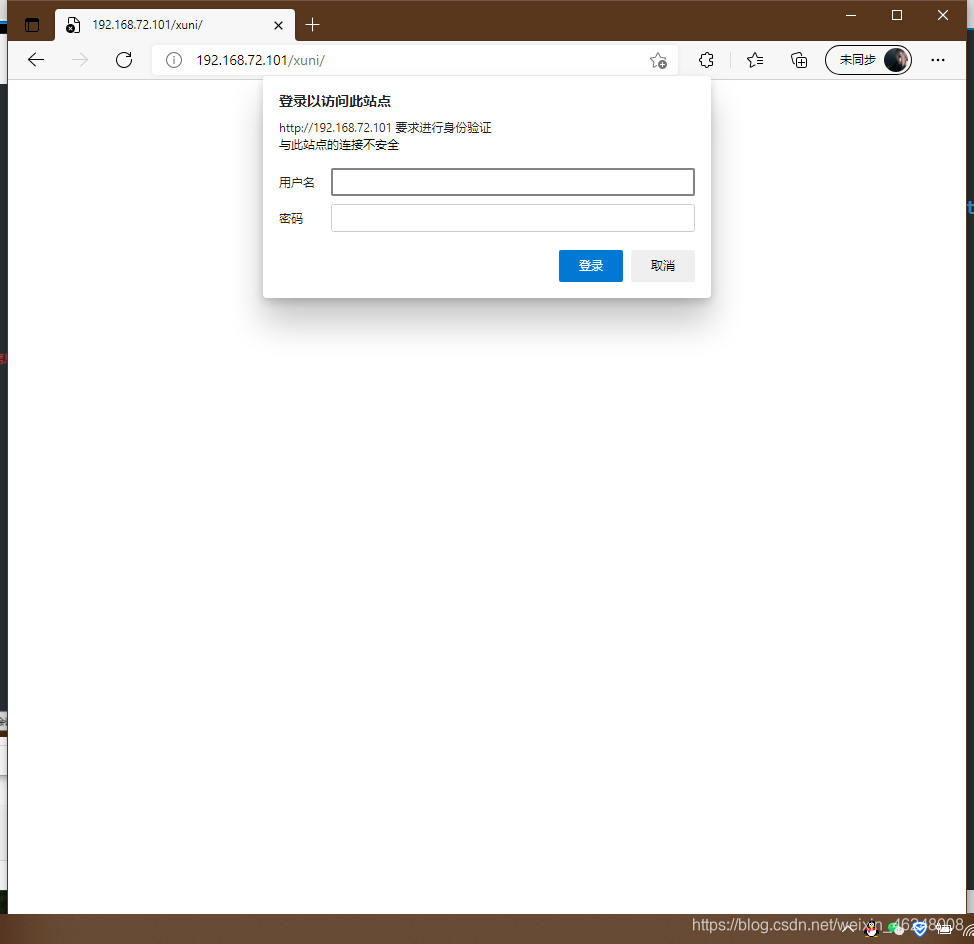
[root@localhost ~]# curl 192.168.72.101/xuni/
我是虚拟目录!!!!!!

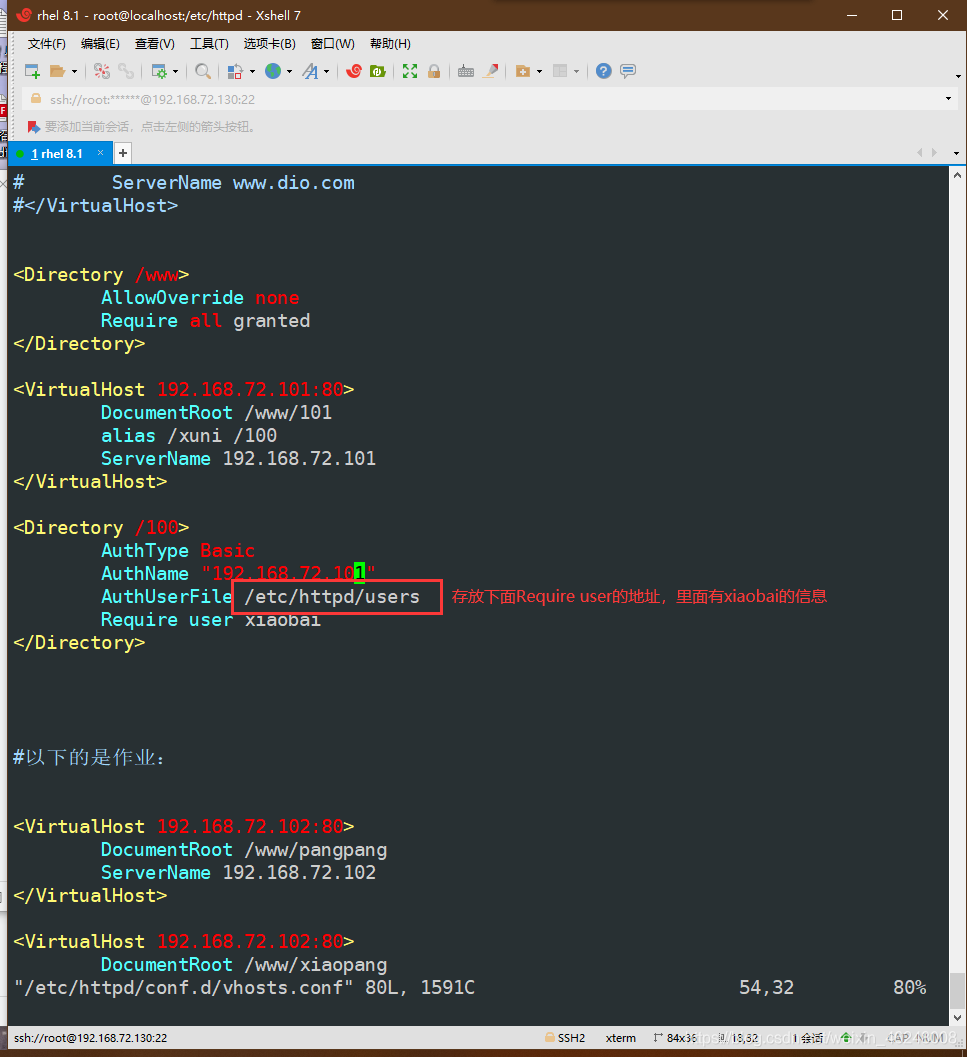
验证用户登录:
[root@localhost httpd]# vim /etc/httpd/conf.d/vhosts.conf

<Directory /100>
        AuthType Basic
        AuthName "192.168.72.101"
        AuthUserFile /etc/httpd/users
        Require user xiaobai xiaohei
</Directory>

[root@localhost httpd]# htpasswd -c /etc/httpd/users xiaoming
New password:
Re-type new password:
Adding password for user xiaobai

[root@localhost httpd]# htpasswd /etc/httpd/users xiaohei
New password:
Re-type new password:
Adding password for user xiaohei
[root@localhost httpd]# systemctl restart httpd
通过xiaobai xiaohei 认证成功就可以访问
安装mod_ssl
[root@localhost ~]# yum install mod_ssl
安装之后,他的配置文件在:
[root@localhost ~]# vim /etc/httpd/conf.d/ssl.conf

里面重要的几条:
SSLCertificateFile /etc/pki/tls/certs/localhost.crt				#证书
SSLCertificateKeyFile /etc/pki/tls/private/localhost.key		#秘钥
生成证书和私钥:
[root@localhost tls]# cd
certs/   misc/    private/
[root@localhost tls]# cd private/
[root@localhost private]# openssl genrsa -aes128 2049 > openlab.key
Generating RSA private key, 2049 bit long modulus (2 primes)
...................+++++
..............................................................................................................................+++++
e is 65537 (0x010001)
Enter pass phrase:											#密码:200001
Verifying - Enter pass phrase:
[root@localhost private]# cd ..
[root@localhost tls]# cd certs/
[root@localhost certs]# openssl req -utf8 -new -key /etc/pki/tls/private/openlab.key -x509 -days 365 -out openlab.crt
Enter pass phrase for /etc/pki/tls/private/openlab.key:		#输入刚刚写的密码
You are about to be asked to enter information that will be incorporated
into your certificate request.
What you are about to enter is what is called a Distinguished Name or a DN.
There are quite a few fields but you can leave some blank
For some fields there will be a default value,
If you enter '.', the field will be left blank.
-----														#写入基本信息
Country Name (2 letter code) [XX]:86
State or Province Name (full name) []:shanxi
Locality Name (eg, city) [Default City]:xian
Organization Name (eg, company) [Default Company Ltd]:openlab
Organizational Unit Name (eg, section) []:rhce
Common Name (eg, your name or your server's hostname) []:localhost
Email Address []:admin@admin.com
[root@localhost certs]#

#查看刚刚生成的key和certs
[root@localhost certs]# ll /etc/pki/tls/private/
total 4
-rw-r--r--. 1 root root 1766 Aug 18 19:16 openlab.key		#key

[root@localhost certs]# ll /etc/pki/tls/certs/
total 4
lrwxrwxrwx. 1 root root   49 Aug 13  2018 ca-bundle.crt -> /etc/pki/ca-trust/extracted/pem/tls-ca-bundle.pem
lrwxrwxrwx. 1 root root   55 Aug 13  2018 ca-bundle.trust.crt -> /etc/pki/ca-trust/extracted/openssl/ca-bundle.trust.crt
-rw-r--r--. 1 root root 1415 Aug 18 19:20 openlab.crt		#certs
key和certs已经生成,现在去配置主机,实现加密访问(https):
[root@localhost ~]# vim /etc/httpd/conf.d/vhosts.conf

#以下的是加密访问
<VirtualHost 192.168.72.103:443>
        SSLEngine on
        SSLCertificateFile /etc/pki/tls/certs/openlab.crt
        SSLCertificateKeyFile /etc/pki/tls/private/openlab.key
        DocumentRoot /www/xiaopang
        ServerName 192.168.72.103
</VirtualHost>

[root@localhost ~]# systemctl restart httpd
Enter TLS private key passphrase for 192.168.72.103:443 (RSA) : ******	#输入密码
在Windows浏览器输入 https://192.168.72.103 就可以访问,浏览器会提示该网站证书有问题

通过命令行访问需要加 -k 选项
[root@localhost ~]# curl -k https://192.168.72.103
this is xiaopang.com
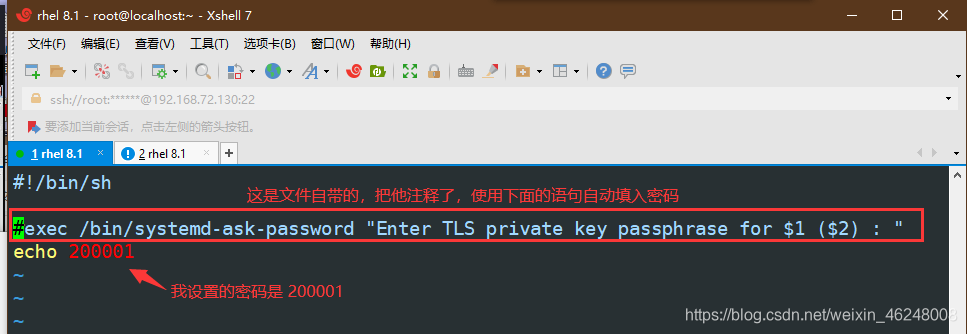
在上面重启httpd服务时 会出现密码验证,要想跳过这个步骤则去修改下面的配置文件:
[root@localhost ~]# vim /usr/libexec/httpd-ssl-pass-dialog
#exec /bin/systemd-ask-password "Enter TLS private key passphrase for $1 ($2) : "
echo 200001
Apache帮助手册位置:
[root@localhost ~]# vim /etc/httpd/conf/httpd.conf

http://httpd.apache.org/docs/2.4/
本地安装Apache帮助手册:(安装好只能在Linux上的浏览器中访问)
[root@localhost ~]# yum install httpd-manual -y
[root@localhost ~]# systemctl restart httpd				#重启服务
[root@localhost ~]# curl http://localhost/manual/		#可以访问
常用特定上下文环境常见的访问控制
Require all granted 允许所有
Require all denied 拒绝所有
Require user username [userid] 允许特定用户
Require group group-name [group-id] 允许特定用户组
Require valid-user 允许有效的用户
Require ip 10 172.20 192.168.2 允许特定IP或IP段,多个IP或IP段间使用空格分隔
注意:使用require指令时,若果有两条及以上,需要在指令外添加标签对,否则重启Apache2.4加载规则时将出现错误:
" negative Require directive has no effect
in directive "。
<Directory /www>
        AllowOverride none
<RequireAll>
        Require ip 192.168.72				#ip以192.168.72起始的可以访问
        Require not ip 192.168.72.102		#这个ip不可以访问
</RequireAll>
</Directory>
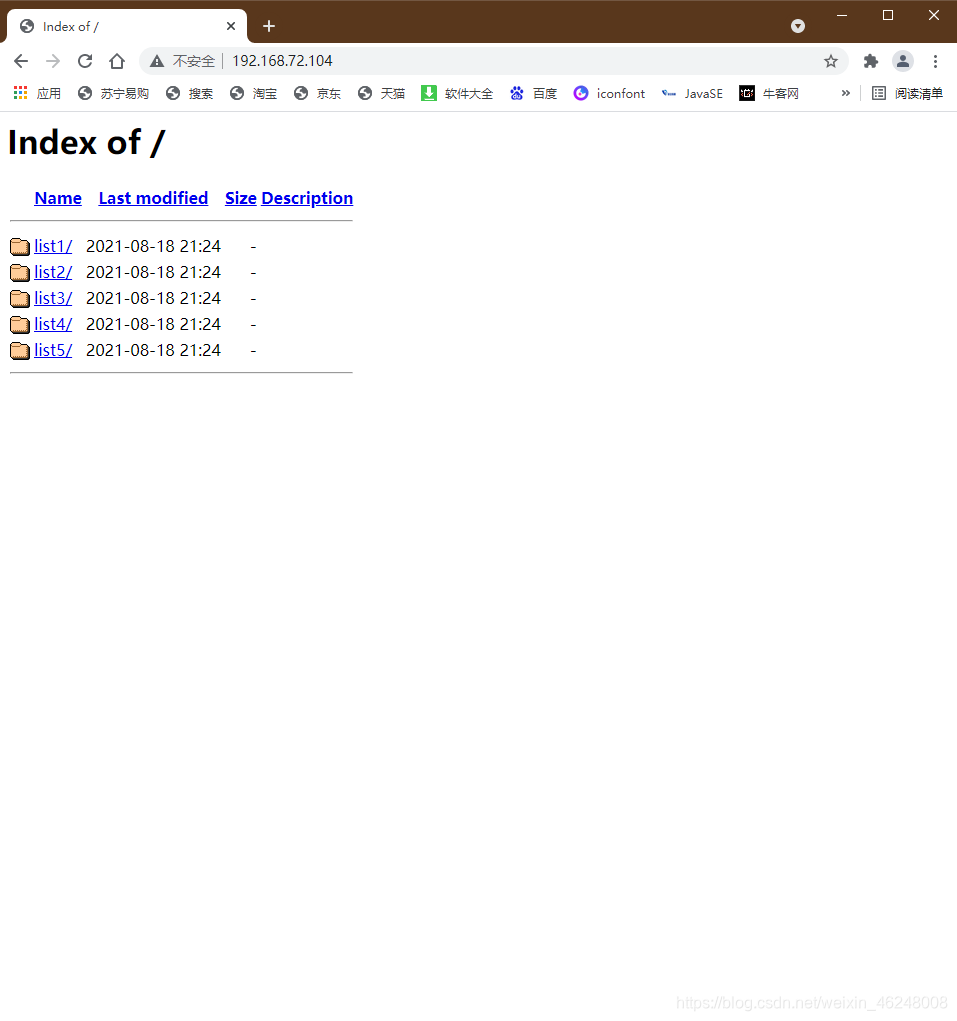
文件下载:新建了一个ip 为192.168.72.104用来实现这个案例
[root@localhost ~]# vim /etc/httpd/conf.d/vhosts.conf
<Directory /www>
        Options +Indexes					# +Indexes:有默认主页时候,正常显示主页内容
        AllowOverride none					# 			没有默认主页时候,以列表形式提供下载
        Require all granted
</Directory>

#以下的是文件传输
<VirtualHost 192.168.72.104>
        DocumentRoot /www/FileDownload		# 在/www下创建一个FileDownload文件夹
        ServerName 192.168.72.104
</VirtualHost>

#因为默认会有欢迎界面,所以要想能下载文件得把欢迎界面也注释一下
[root@localhost ~]# vim /etc/httpd/conf.d/welcome.conf		# 欢迎界面的所在位置
[root@localhost ~]# systemctl restart httpd

[root@localhost ~]# cd /www/FileDownload/
[root@localhost FileDownload]# ll
total 0
[root@localhost FileDownload]# mkdir list1 list2 list3 list4 list5
[root@localhost FileDownload]# ll
total 0
drwxr-xr-x. 2 root root 6 Aug 18 21:24 list1
drwxr-xr-x. 2 root root 6 Aug 18 21:24 list2
drwxr-xr-x. 2 root root 6 Aug 18 21:24 list3
drwxr-xr-x. 2 root root 6 Aug 18 21:24 list4
drwxr-xr-x. 2 root root 6 Aug 18 21:24 list5

[root@localhost ~]# curl 192.168.72.104
欢迎界面的配置文件:

最后用Windows浏览器访问: 192.168.72.104
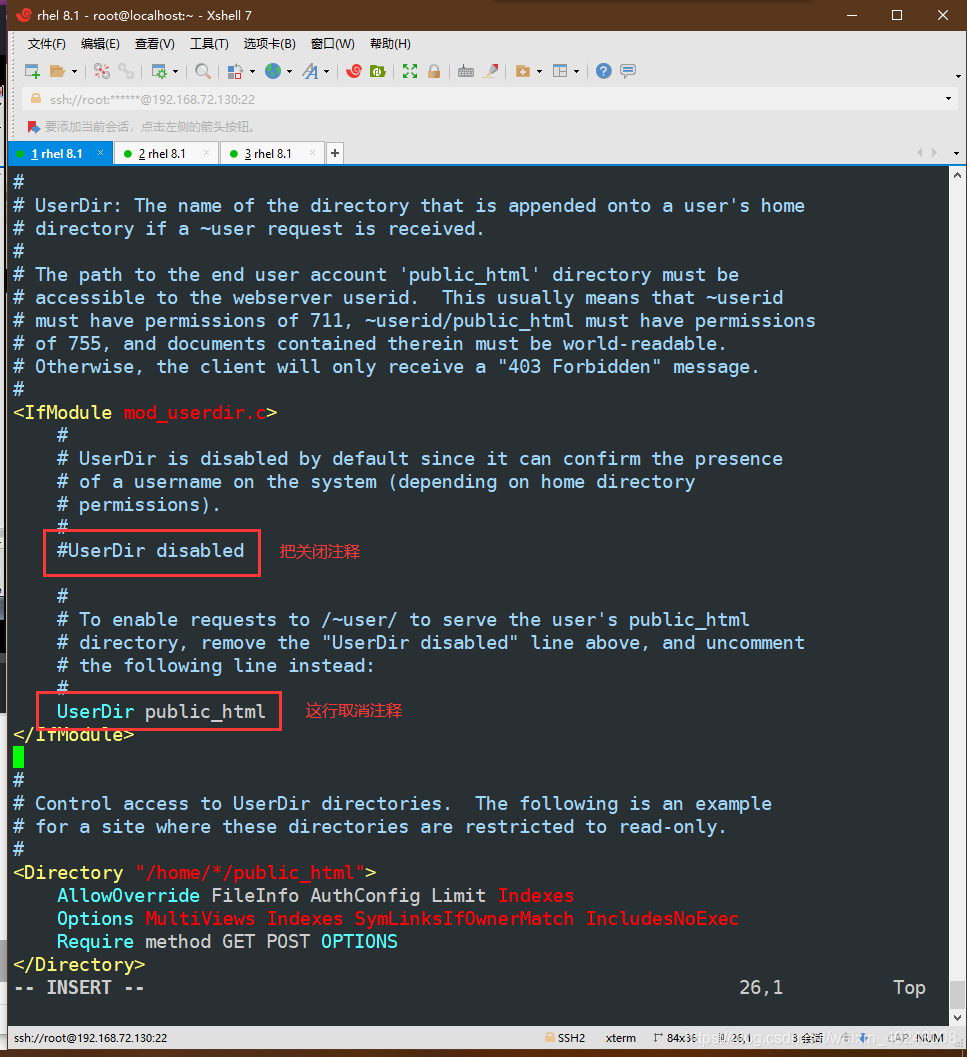
不同用户登录不同页面:
[root@localhost ~]# vim /etc/httpd/conf.d/userdir.conf
# 配置信息 如下图所示
[root@localhost ~]# useradd tom
[root@localhost ~]# cd /home/tom/
[root@localhost tom]# mkdir public_html
[root@localhost tom]# cd public_html/
[root@localhost public_html]# echo this is tommmmmmmmmmmmmmmmm > index.html
[root@localhost public_html]# ll -d /home/tom/
drwx------. 4 tom tom 97 Aug 18 21:50 /home/tom/ # Apache没有访问权限,修改一下
[root@localhost public_html]# chmod o+rx /home/tom/ -R
[root@localhost public_html]# systemctl restart httpd
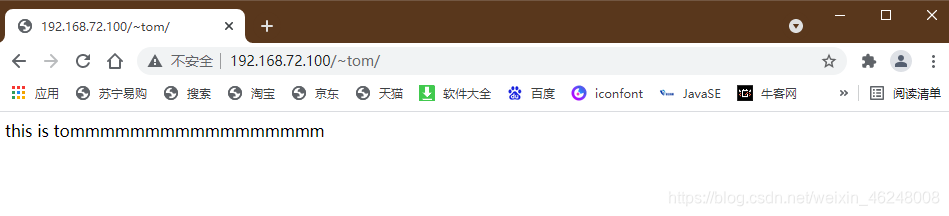
[root@localhost public_html]# curl 192.168.72.100/~tom/
this is tommmmmmmmmmmmmmmmm

在上面的配置文件中:默认每个人都能访问到这个界面,所以修改一下访问权限:
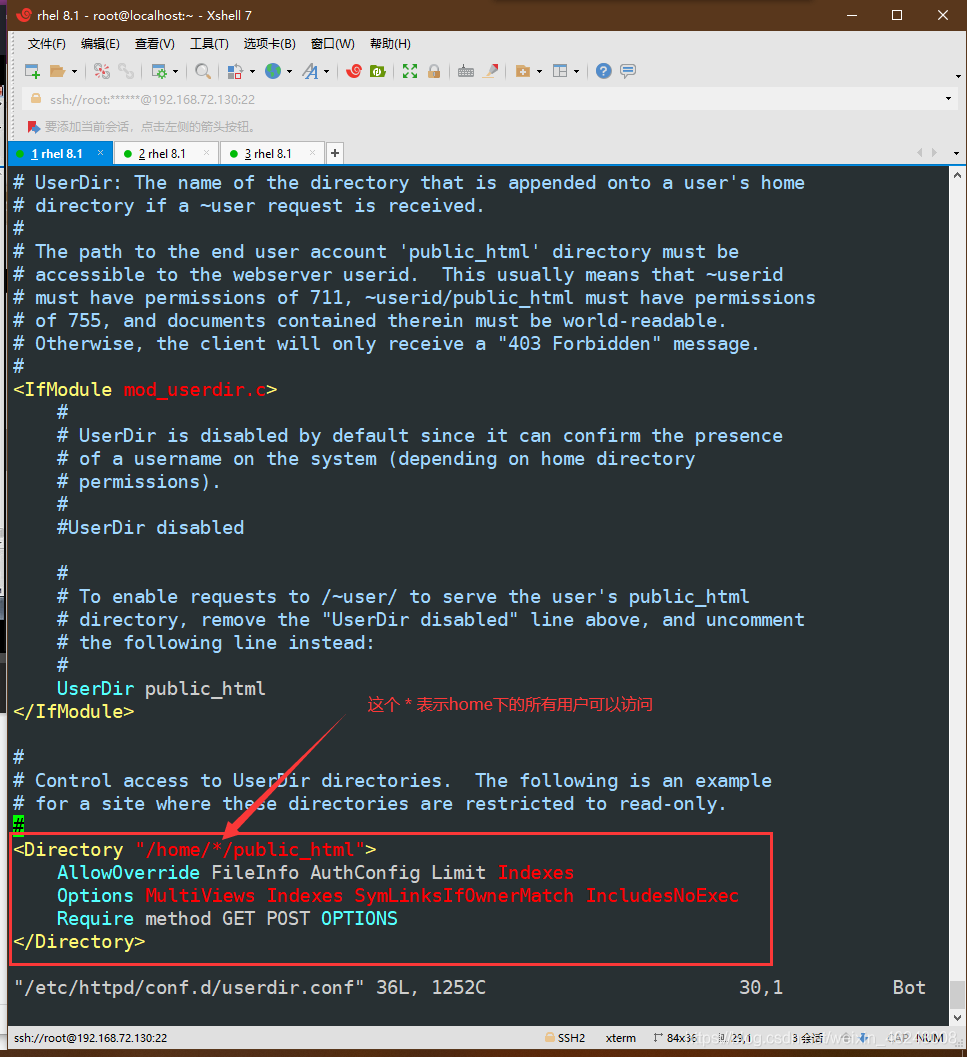
改为以下的:
[root@localhost ~]# vim /etc/httpd/conf.d/userdir.conf
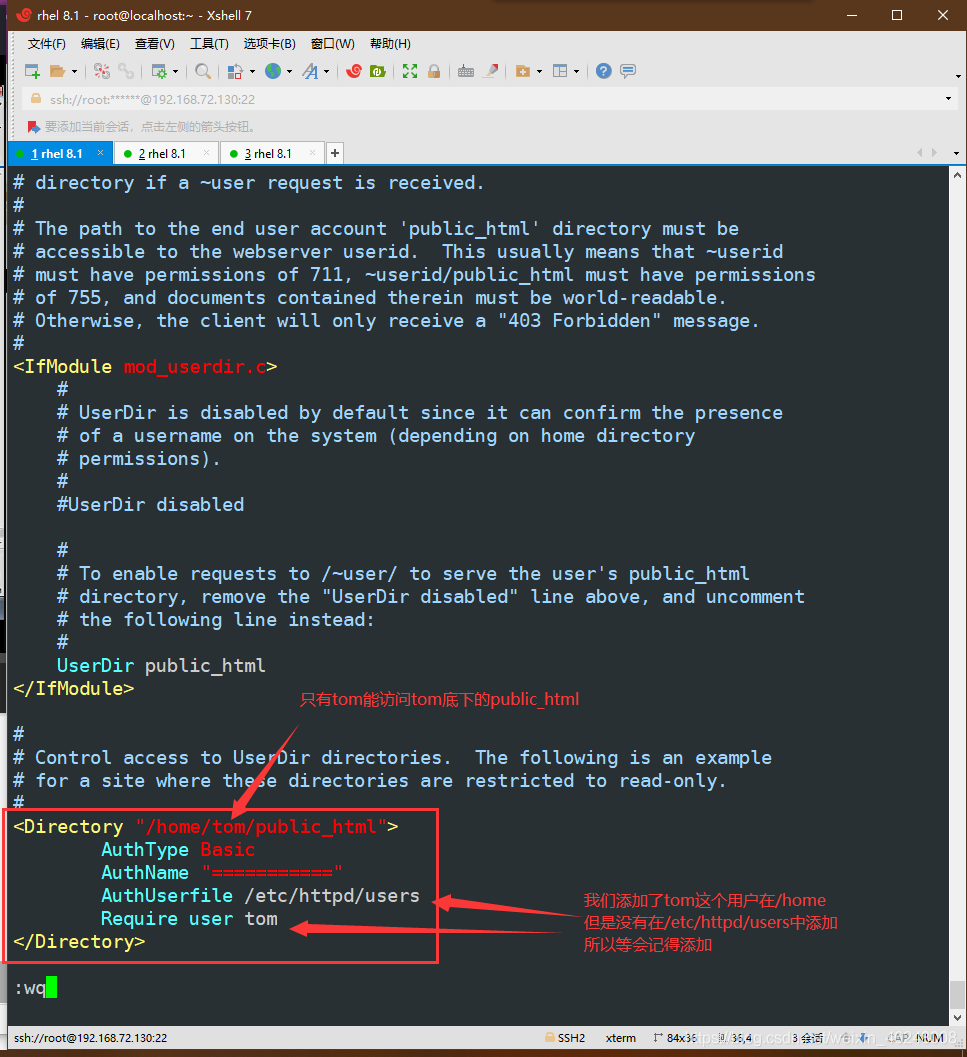
[root@localhost ~]# systemctl restart httpd
[root@localhost ~]# htpasswd /etc/httpd/users tom
New password:
Re-type new password:
Adding password for user tom
打开浏览器访问:

搭论坛!!!!!!!!!!!!!!!!!
方便起见,我重新再建一个ip:192.168.72.105
[root@localhost ~]# vim /etc/httpd/conf.d/vhosts.conf
#以下的是论坛!!!!!!!!!!!!!!!!!!!!!!!!!!!
<VirtualHost 192.168.72.105:80>
DocumentRoot /www/Discuz
ServerName 192.168.72.105
</VirtualHost>
[root@localhost ~]# cd /www/
[root@localhost www]# mkdir Discuz
[root@localhost www]# cd Discuz/
[root@localhost Discuz]# rz
#把论坛的压缩包传到当前目录下
[root@localhost Discuz]# ll
total 11600
-rw-r--r--. 1 root root 11875579 Aug 18 15:47 Discuz_X3.4_SC_UTF8_0101.zip
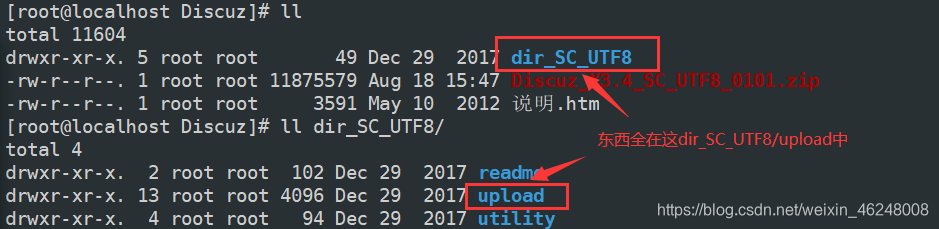
[root@localhost Discuz]# unzip Discuz_X3.4_SC_UTF8_0101.zip #解压
[root@localhost Discuz]# ll
total 11604
drwxr-xr-x. 5 root root 49 Dec 29 2017 dir_SC_UTF8
-rw-r--r--. 1 root root 11875579 Aug 18 15:47 Discuz_X3.4_SC_UTF8_0101.zip
-rw-r--r--. 1 root root 3591 May 10 2012 说明.htm
LAMP框架:
L: Linux
A: Apache
M: mariadb
P: php
安装mariadb:
[root@localhost Discuz]# yum install mariadb-server -y
启动mariadb:
[root@localhost Discuz]# systemctl restart mariadb
初始化mariadb:
[root@localhost Discuz]# mysql_secure_installation

#出现这行叫你设置root密码
Enter current password for root (enter for none):

#之后出现这个:
Set root password? [Y/n] y
New password:
Re-enter new password:
Password updated successfully!

#表示密码设置成功,后面的操作 一直y就可以
登录数据库:
[root@localhost Discuz]# mysql -uroot -p200001
# 注意这里的 -uroot -p200001
			 root是用户 200001是密码 之间没有空格
展示数据库:里面默认有个mysql
MariaDB [(none)]> show databases;
+--------------------+
| Database           |
+--------------------+
| information_schema |
| mysql              |
| performance_schema |
+--------------------+
3 rows in set (0.015 sec)
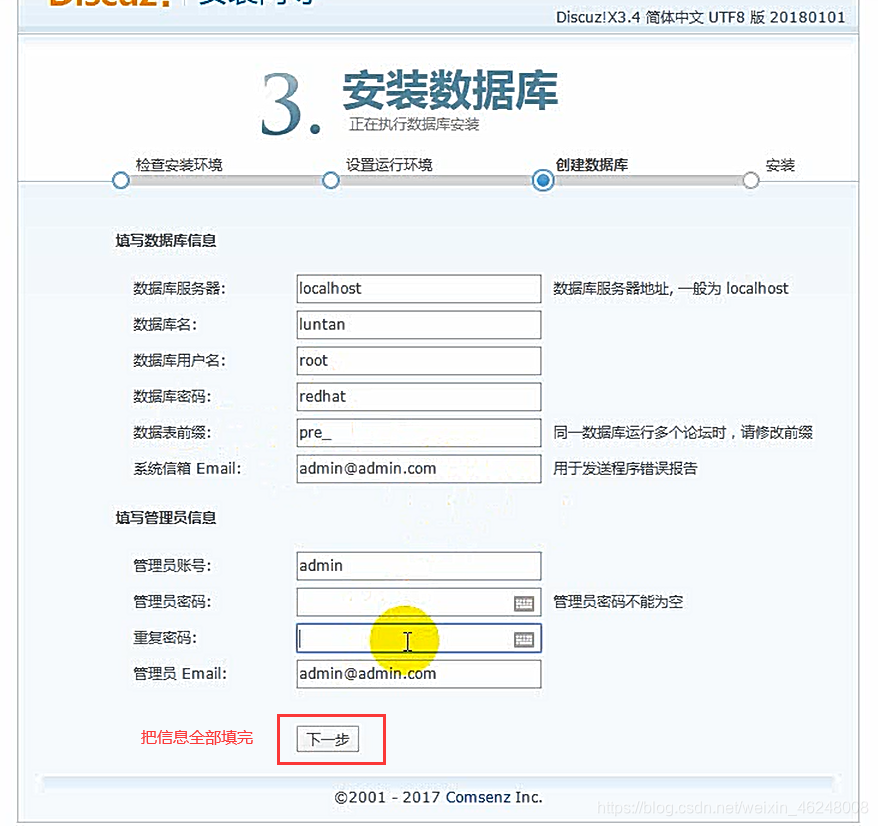
新建数据库:
MariaDB [(none)]> create database Discuz;
查看新数据库中的信息并退出:
MariaDB [(none)]> use Discuz
Database changed
MariaDB [Discuz]> show tables;
Empty set (0.001 sec)

MariaDB [Discuz]> exit
Bye
重启数据库:
[root@localhost Discuz]# systemctl restart mariadb.service
安装php:
[root@localhost Discuz]# yum install php* -y
至此,LAMP框架已经全部安装完成
开始正式搭论坛:
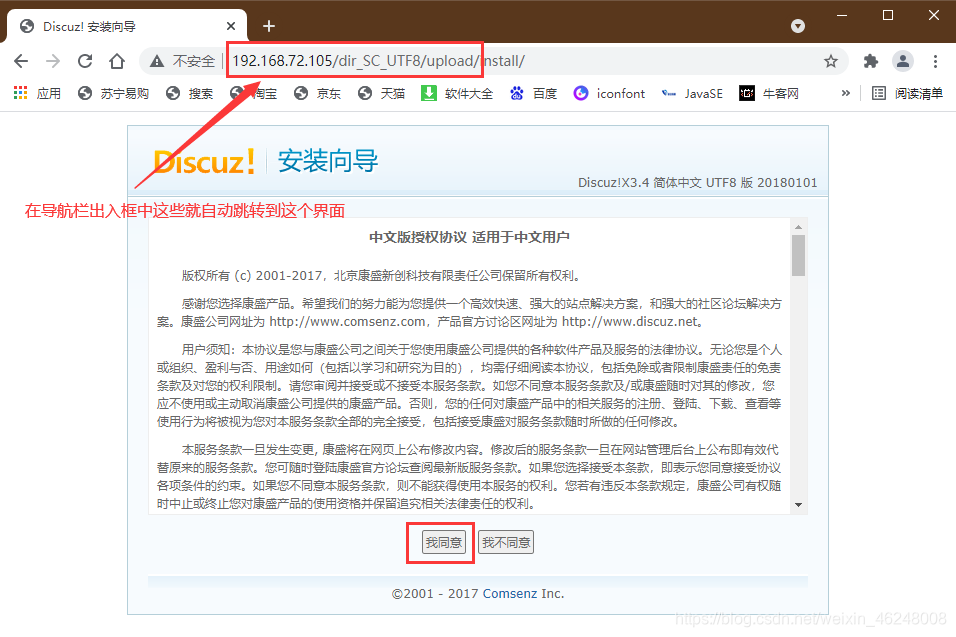
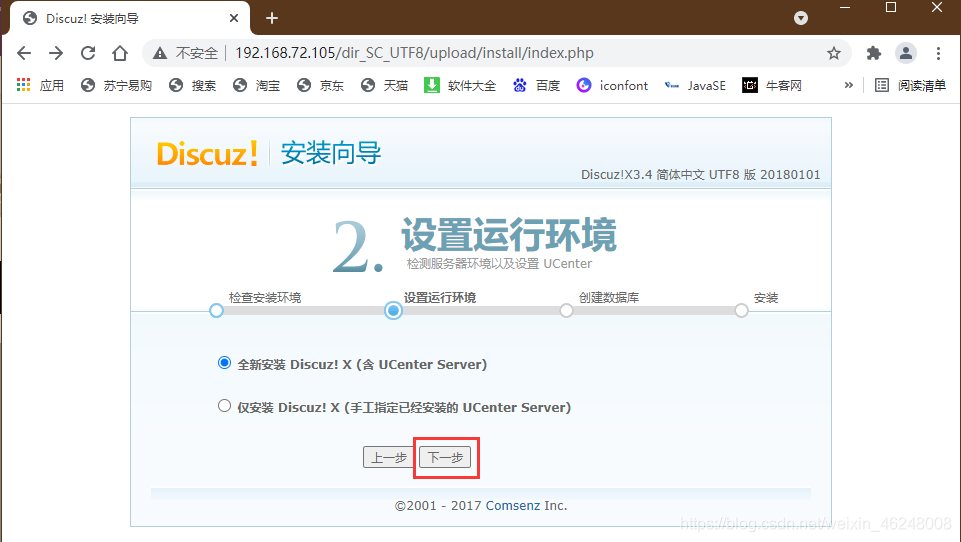
打开浏览器输入:
http://192.168.72.105/dir_SC_UTF8/upload/install/
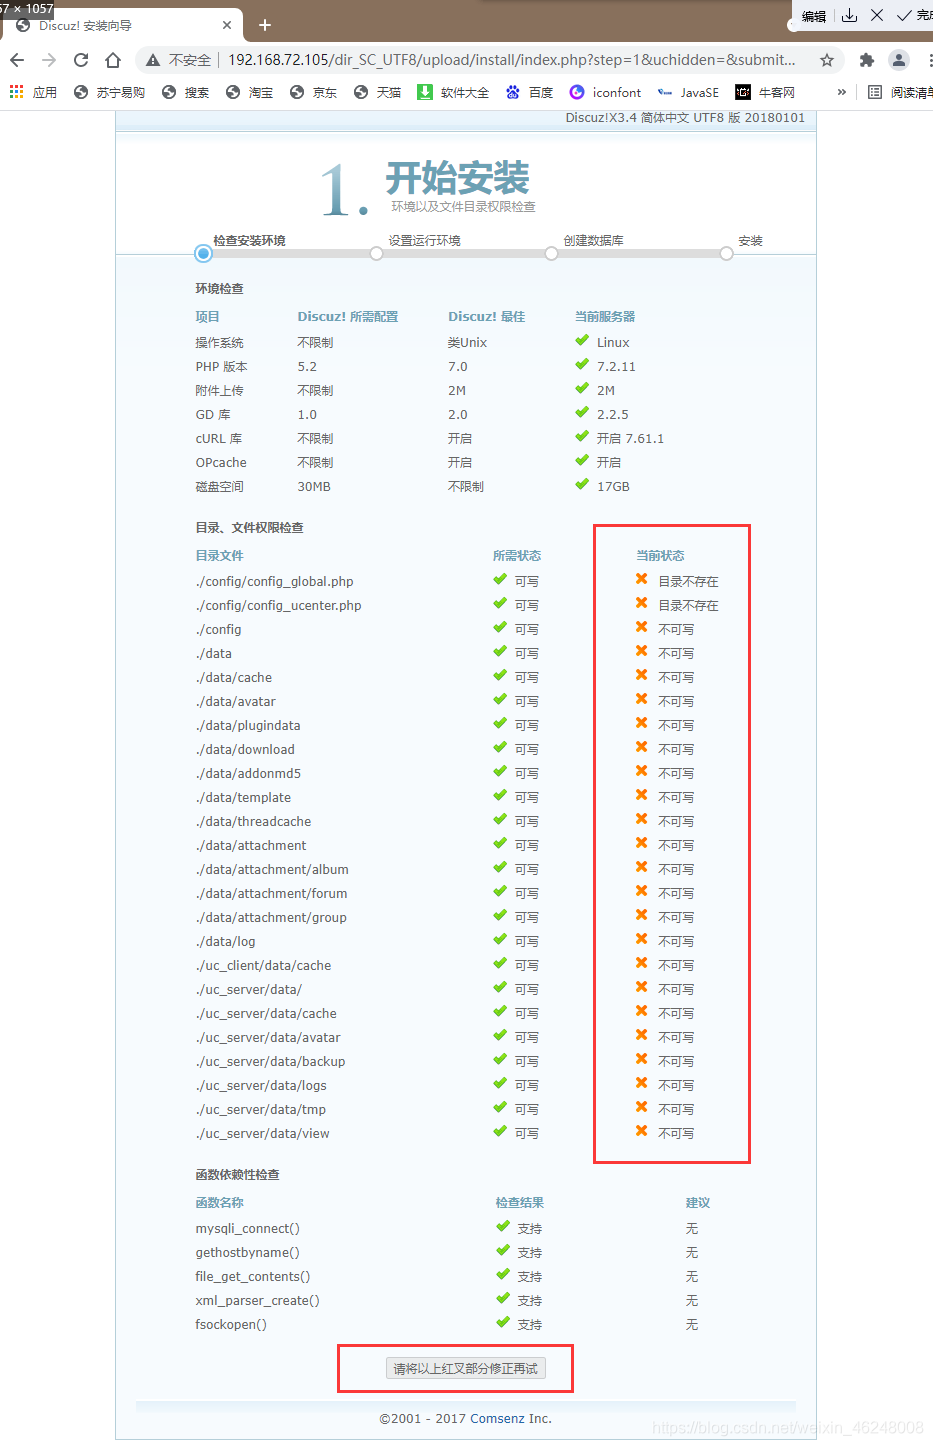
这个问题修改权限解决:
[root@localhost Discuz]# cd dir_SC_UTF8/upload/
[root@localhost upload]# chmod 777 uc_* config/ data/ -R
刷新一下网站:
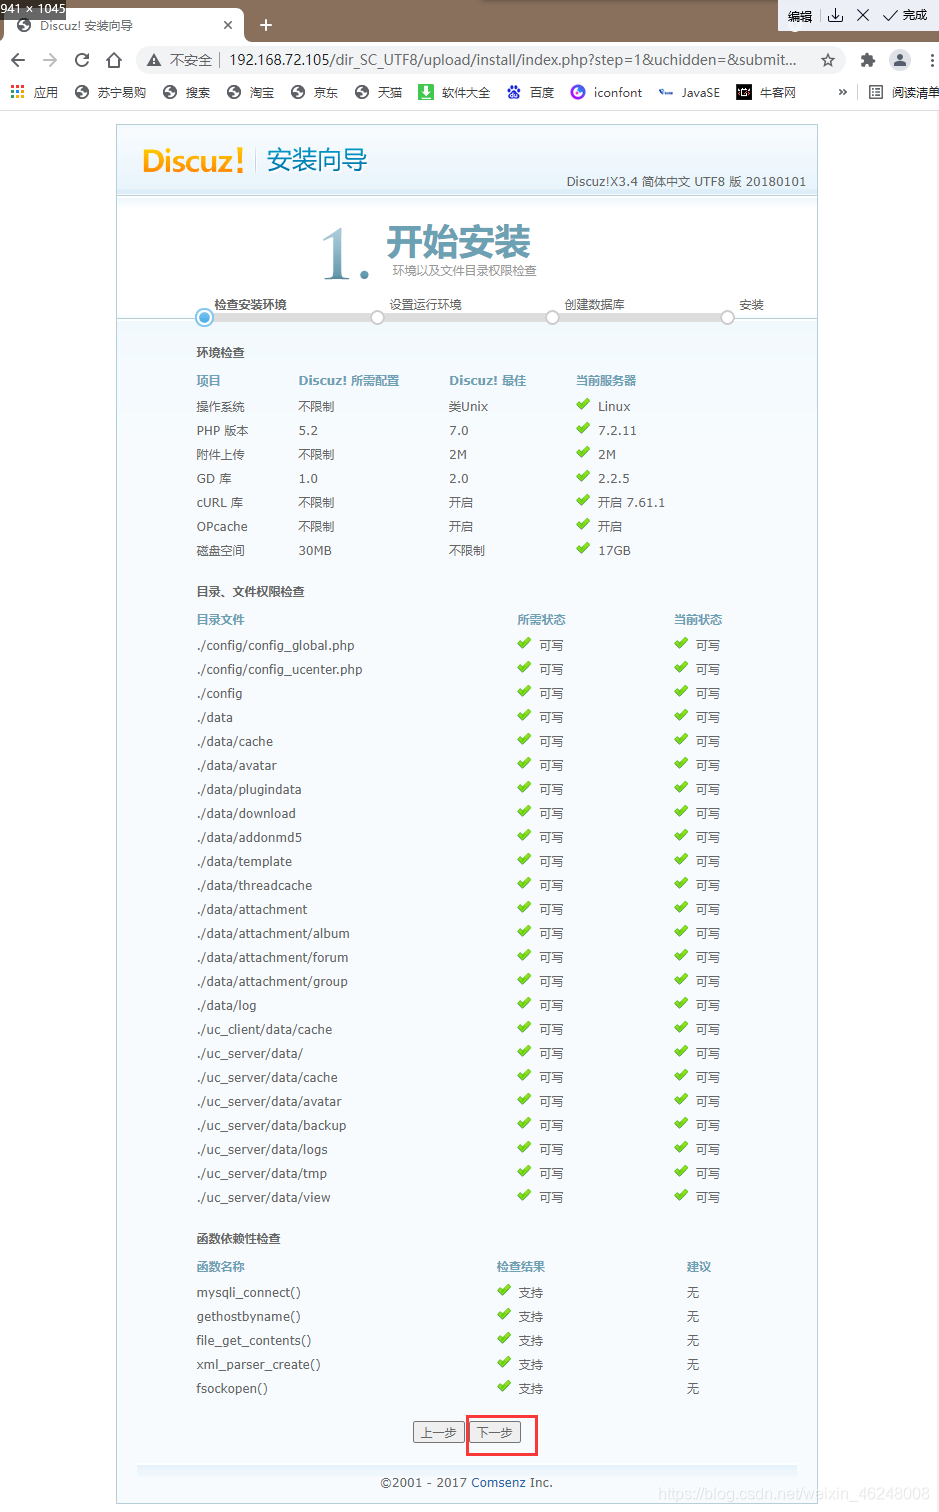
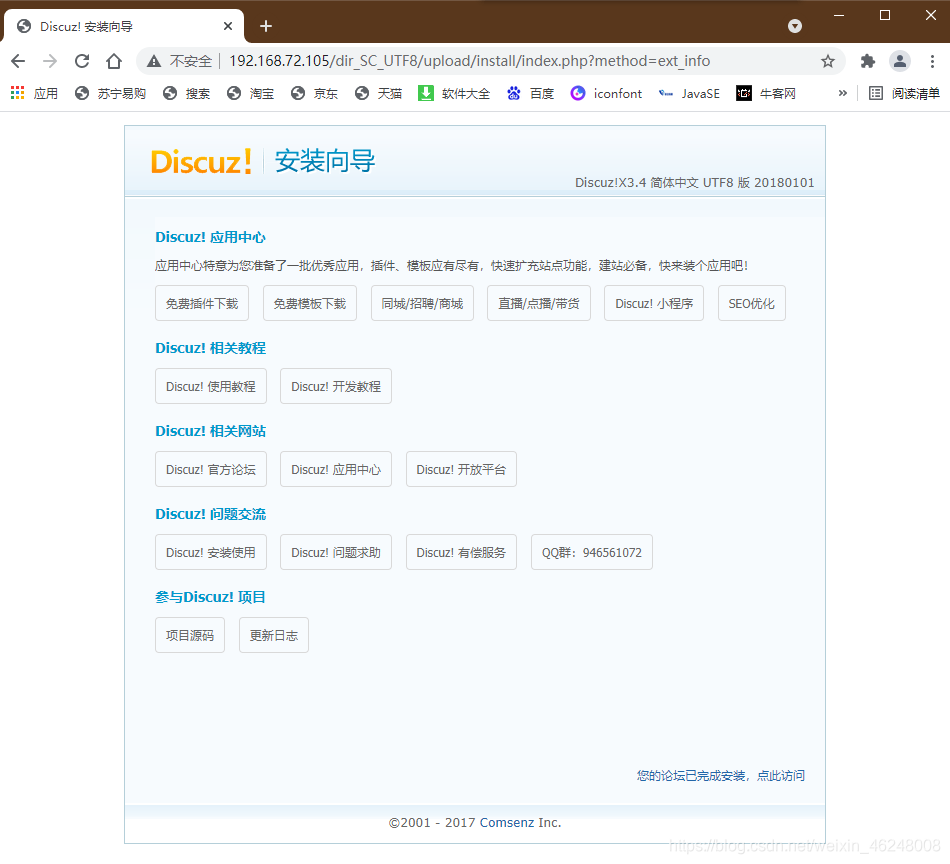
安装成功
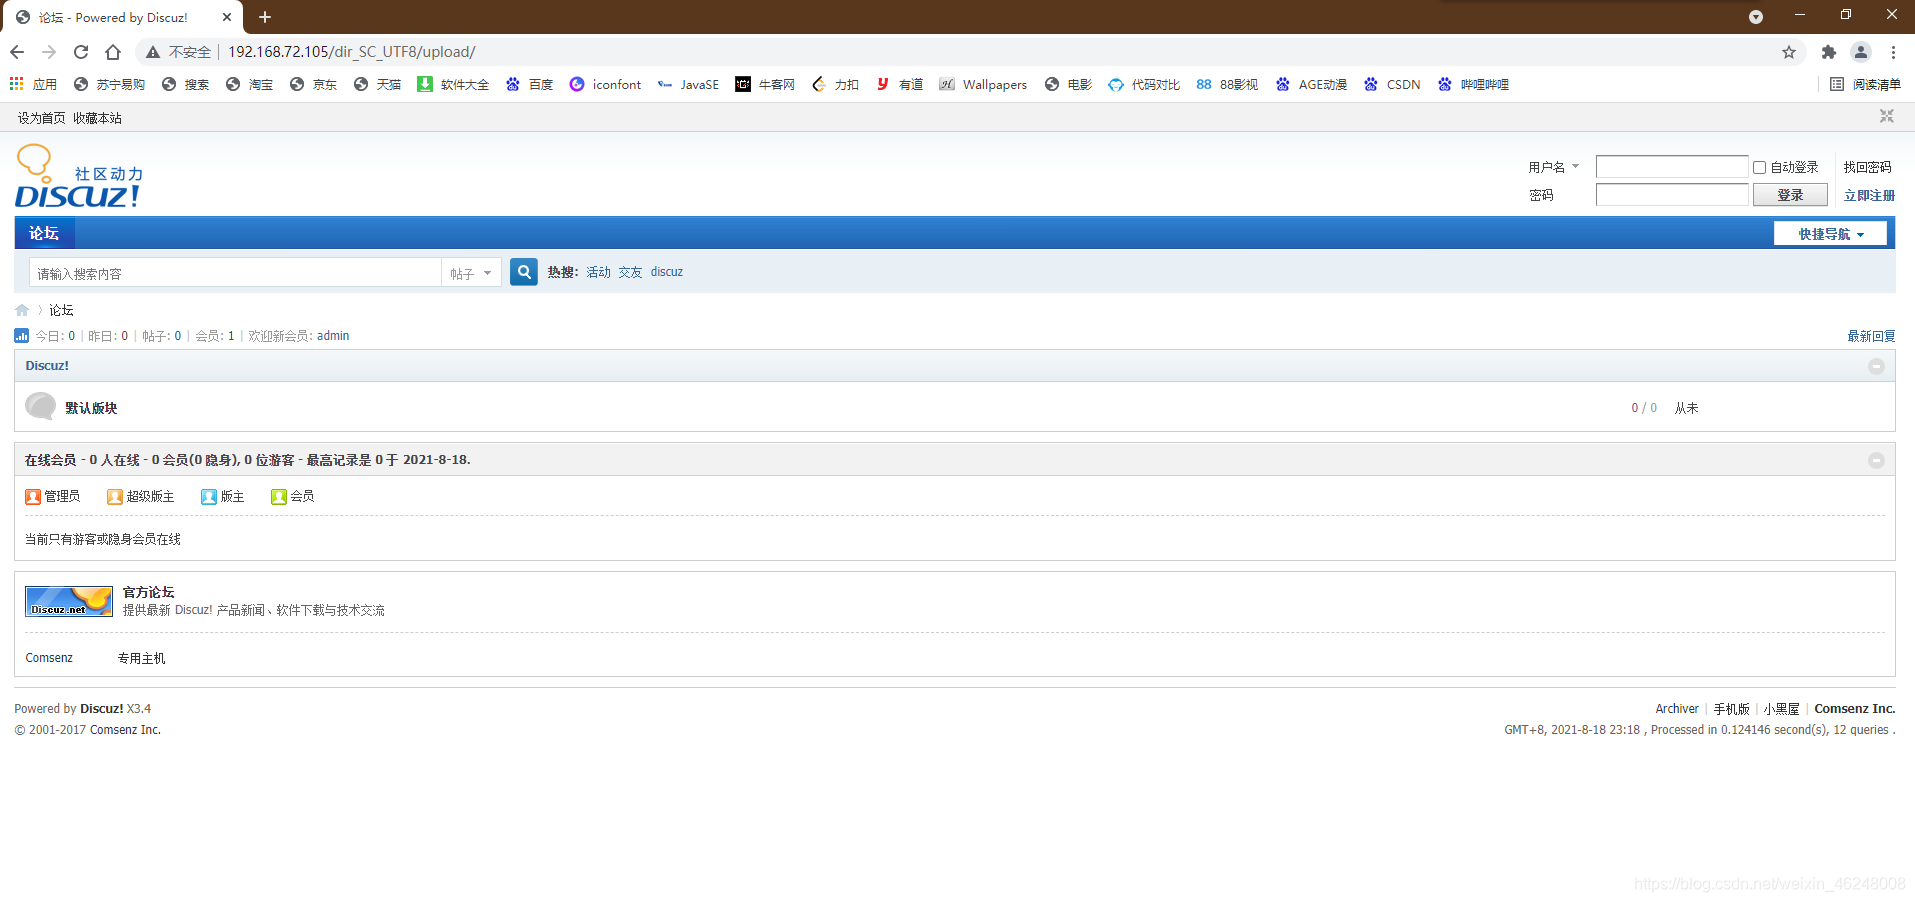
再在浏览器输入:
http://192.168.72.105/dir_SC_UTF8/upload/
就进入论坛了
方便起见 我们去配置一下vhost,用域名直接访问这个论坛:
[root@localhost upload]# vim /etc/httpd/conf.d/vhosts.conf

#以下的是论坛!!!!!!!!!!!!!!!!!!!!!!!!!!!
<VirtualHost 192.168.72.105:80>
        DocumentRoot /www/Discuz/dir_SC_UTF8/upload/		# 访问的路径
        ServerName www.Discuz.com							# 域名
</VirtualHost>

[root@localhost upload]# systemctl restart httpd
去Windows中改hosts


之后就可以直接在浏览器中输入 www.Discuz.com 就可以访问论坛了