MacOS Brew搭建PHP开发环境
MacOS Brew搭建PHP开发环境
HomeBrew 包管理器安装
参考链接:MacOS下安装homebrew包管理器
HomeBrew 相关命令简要说明:
brew update                        #更新brew可安装包,建议每周执行一下
brew search package-name           #搜索需要安装的包名,例如:brew search php
brew tap shivammathur/php          #挂载其他PHP扩展<github_user/repo>
brew tap                           #查看安装的扩展列表
brew install package-name          #安装包文件,例如:brew install php
brew uninstall package-name        #卸载包文件,例如:brew uninstall php
brew upgrade package-name          #升级包文件,例如:brew upgrade php
brew info package-name             #查看包相关信息,例如:brew info php
brew home package-name             #访问安装包官方网站
brew services list                 #查看系统通过 brew 安装的服务
brew services cleanup              #清除已卸载无用的启动配置文件
brew services restart package-name #重启服务,brew services restart php@7.2
一、安装Nginx
#搜索是否有nginx安装包
?  ~ brew search nginx
==> Formulae
nginx	#搜到的包文件
#执行安装命令,会自动安装
?  ~ brew install nginx
#自动安装过程省略……
?  ~
生成目录及配置文件路径简要说明:
#根目录路径
/usr/local/var/www
#虚拟主机配置文件目录
/usr/local/etc/nginx/servers/
#nginx配置文件路径,默认端口是8080
/usr/local/etc/nginx/nginx.conf
#重启nginx命令
brew services restart nginx
#不需要在后台运行执行这条命令
/usr/local/opt/nginx/bin/nginx -g daemon off
nginx相关操作简要说明:
#测试配置是否有语法错误
sudo nginx -t

#启动 nginx
sudo nginx

#重新加载配置|重启|停止|退出 nginx
nginx -s reload|reopen|stop|quit

#使用Mac的launchctl来启动|停止
launchctl load -w ~/Library/LaunchAgents/homebrew.mxcl.nginx.plist
launchctl unload ~/Library/LaunchAgents/homebrew.mxcl.nginx.plist
测试nginx是否安装成功,因为默认配置文件监听的是8080端口,所以先对8080端口发起请求,在浏览器中输入127.0.0.1:8080,出现下图说明安装正确。

或者使用curl测试
?  ~ curl -IL http://127.0.0.1:8080

#输出结果如下
HTTP/1.1 200 OK
Server: nginx/1.21.6
Date: Wed, 09 Mar 2022 04:19:15 GMT
Content-Type: text/html
Content-Length: 615
Last-Modified: Tue, 25 Jan 2022 15:04:02 GMT
Connection: keep-alive
ETag: "61f01162-xxx"
Accept-Ranges: bytes
如果要nginx 监听 80 端口的话,需要 root 权限执行
?  ~ sudo chown root:wheel /usr/local/Cellar/nginx/1.21.6_1/bin/nginx
?  ~ sudo chmod u+s /usr/local/Cellar/nginx/1.21.6_1/bin/nginx
二、安装PHP
?  ~ brew search php	#搜索php
==> Formulae
brew-php-switcher   php@7.2             phplint             pcp
php                 php@7.3             phpmd               pup
php-code-sniffer    php@7.4             phpmyadmin
php-cs-fixer        php@8.0             phpstan
php-cs-fixer@2      phpbrew             phpunit
?  ~ brew install php@7.2	#安装php7.2
#自动安装过程省略……
?  ~
安装目录简要说明:
#配置文件路径
/usr/local/etc/php/7.2/php.ini
/usr/local/etc/php/7.2/php-fpm.ini
#重启服务
brew services restart php@7.2
#不在后台运行
/usr/local/opt/php@7.2/sbin/php-fpm --nodaemonize
写入环境变量
#写入环境变量
echo 'export PATH="/usr/local/opt/php@7.2/bin:$PATH"' >> ~/.zshrc	#php
echo 'export PATH="/usr/local/opt/php@7.2/sbin:$PATH"' >> ~/.zshrc	#php-fpm
#刷新配置文件
source ~/.zshrc
修改php-fpm.conf配置文件
?  ~ vim /usr/local/etc/php/7.2/php-fpm.conf

#去掉第17行和第24行前面的分号
17 ;pid = run/php-fpm.pid	#pid 文件就会自动产生在 /usr/local/var/run/php-fpm.pid
24 ;error_log = log/php-fpm.log
PHP相关操作简要说明:
#测试php-fpm配置
php-fpm -t
php-fpm -c /usr/local/etc/php/7.2/php.ini -y /usr/local/etc/php/7.2/php-fpm.conf -t

#启动php-fpm
php-fpm -D
php-fpm -c /usr/local/etc/php/7.1/php.ini -y /usr/local/etc/php/7.1/php-fpm.conf -D

#关闭php-fpm
kill -INT `cat /usr/local/var/run/php-fpm.pid`

#重启php-fpm
kill -USR2 `cat /usr/local/var/run/php-fpm.pid`

#启动|停止|重启 PHP
brew services start|stop|restart php
启动php后,使用以下命令监测php-fpm是否启动成功,监听9000端口:
?  ~ lsof -Pni4 | grep LISTEN | grep php
#启动成功应当有以下类似输出
php-fpm   12424 yamol    8u  IPv4 0x982f86ac641367c1      0t0  TCP 127.0.0.1:9000 (LISTEN)
php-fpm   12430 yamol    9u  IPv4 0x982f86ac641367c1      0t0  TCP 127.0.0.1:9000 (LISTEN)
php-fpm   12431 yamol    9u  IPv4 0x982f86ac641367c1      0t0  TCP 127.0.0.1:9000 (LISTEN)
设置PHP-FPM 开机启动:
?  ~ ln -sfv /usr/local/opt/php@7.2/*.plist ~/Library/LaunchAgents
launchctl load ~/Library/LaunchAgents/homebrew.mxcl.php@7.2.plist
三、安装MySQL
?  ~ brew search mysql	#查询mysql
==> Formulae
automysqlbackup         mysql-client            mysql-sandbox           mysql@5.7
mysql                   mysql-client@5.7        mysql-search-replace    mysqltuner
mysql++                 mysql-connector-c++     mysql@5.6               qt-mysql
#homebrew下载的默认是最新版的 mysql8.0+,在 brew search mysql 选择你要安装的。因为 mysql8.0 + 和 mysql5.7 的区别还是有点大,目前还是用 5.7 的版本
?  ~ brew install mysql@5.7	#安装mysql5.7版本
#自动安装过程省略……
?  ~
配置环境变量
#加入环境变量
echo 'export PATH="/usr/local/opt/mysql@5.7/bin:$PATH"' >> ~/.zshrc
#刷新配置文件
source ~/.zshrc
MySQL的安全安装,使用以下命令,可以更改root密码、删除匿名用户、关闭远程连接等
?  ~ mysql_secure_installation	#执行安全安装命令

Securing the MySQL server deployment.

Connecting to MySQL using a blank password.

VALIDATE PASSWORD PLUGIN can be used to test passwords
and improve security. It checks the strength of password
and allows the users to set only those passwords which are
secure enough. Would you like to setup VALIDATE PASSWORD plugin?

Press y|Y for Yes, any other key for No: n	#是否开启密码强度验证,根据自己搭建环境选择,本人没有开启
Please set the password for root here.

New password:	#输入新密码

Re-enter new password:	#输入重复新密码
By default, a MySQL installation has an anonymous user,
allowing anyone to log into MySQL without having to have
a user account created for them. This is intended only for
testing, and to make the installation go a bit smoother.
You should remove them before moving into a production
environment.

#是否删除匿名用户,输入y
Remove anonymous users? (Press y|Y for Yes, any other key for No) : y
Success.


Normally, root should only be allowed to connect from
'localhost'. This ensures that someone cannot guess at
the root password from the network.

#是否禁止远程登录,输入y
Disallow root login remotely? (Press y|Y for Yes, any other key for No) : y
Success.

By default, MySQL comes with a database named 'test' that
anyone can access. This is also intended only for testing,
and should be removed before moving into a production
environment.

#是否删除test数据库,输入y
Remove test database and access to it? (Press y|Y for Yes, any other key for No) : y
 - Dropping test database...
Success.

 - Removing privileges on test database...
Success.

Reloading the privilege tables will ensure that all changes
made so far will take effect immediately.

#是否重载权限表数据,输入y
Reload privilege tables now? (Press y|Y for Yes, any other key for No) : y
Success.

All done!
启动mysql服务
?  ~ brew services restart mysql@5.7
==> Successfully started `mysql@5.7` (label: homebrew.mxcl.mysql@5.7)
访问mysql,能进入如下界面,说明安装成功
?  ~ mysql -uroot -p
Enter password:
Welcome to the MySQL monitor.  Commands end with ; or \g.
Your MySQL connection id is 2
Server version: 5.7.37 Homebrew

Copyright (c) 2000, 2022, Oracle and/or its affiliates.

Oracle is a registered trademark of Oracle Corporation and/or its
affiliates. Other names may be trademarks of their respective
owners.

Type 'help;' or '\h' for help. Type '\c' to clear the current input statement.

mysql>
设置mysql 开机启动:
?  ~ ln -sfv /usr/local/opt/mysql@5.7/*.plist ~/Library/LaunchAgents
launchctl load ~/Library/LaunchAgents/homebrew.mxcl.mysql.plist
四、配置Nginx
- 创建需要用到的目录:
#创建nginx日志目录
?  ~ mkdir -p /usr/local/var/logs/nginx
#配置文件目录
?  ~ mkdir -p /usr/local/etc/nginx/conf.d
#ssl配置文件目录
?  ~ mkdir -p /usr/local/etc/nginx/ssl
#配置项目存放目录
?  ~ sudo mkdir -p /var/www
?  ~ sudo chown :staff /var/www
?  ~ sudo chmod 775 /var/www
- 修改
nginx.conf配置文件
? ~ vim /usr/local/etc/nginx/nginx.conf
将nginx.conf内容替换如下
user root admin;
worker_processes  1;

error_log   /usr/local/var/logs/nginx/error.log debug;

pid        	/usr/local/var/run/nginx.pid;

events {
    worker_connections  256;
}

http {
    include       mime.types;
    default_type  application/octet-stream;

    log_format  main  '$remote_addr - $remote_user [$time_local] "$request" '
                      '$status $body_bytes_sent "$http_referer" '
                      '"$http_user_agent" "$http_x_forwarded_for"';

    access_log  /usr/local/var/logs/access.log  main;

    sendfile        on;
    keepalive_timeout  65;
    port_in_redirect off;

    include /usr/local/etc/nginx/servers/*;
}
- 创建
nginxphp-fpm配置文件
? ~ vim /usr/local/etc/nginx/conf.d/php-fpm
输入以下内容
location ~ \.php$ {
    try_files  $uri = 404;
    fastcgi_pass 127.0.0.1:9000;
    fastcgi_index index.php;
    fastcgi_intercept_errors on;
    include /usr/local/etc/nginx/fastcgi.conf;
}
- 创建必要的文件到
/var/www/default目录
?  ~ vi /var/www/default/info.php
?  ~ vi /var/www/default/index.html
?  ~ vi /var/www/default/403.html
?  ~ vi /var/www/default/404.html
- 创建默认虚拟主机配置文件
? ~ vim /usr/local/etc/nginx/servers/default
输入以下内容
server {
    listen       8080;
    server_name  localhost;
    root         /var/www/default/;

    access_log  /usr/local/var/logs/nginx/default.access.log  main;

    location / {
        index  index.html index.htm index.php;
        autoindex   on;
        include     /usr/local/etc/nginx/conf.d/php-fpm;
    }

    location = /info {
        allow   127.0.0.1;
        deny    all;
        rewrite (.*) /.info.php;
    }

    error_page  404     /404.html;
    error_page  403     /403.html;
}
- 创建ssl默认虚拟主机(
该步骤非必须)
安装SSL
?  ~ cd /usr/local/etc/nginx/ssl
?  ~ openssl req -new -newkey rsa:4096 -days 365 -nodes -x509 -subj "/C=US/ST=State/L=Town/O=Office/CN=localhost" -keyout /usr/local/etc/nginx/ssl/localhost.key -out /usr/local/etc/nginx/ssl/localhost.crt
创建ssl虚拟主机配置文件
? ~ vim /usr/local/etc/nginx/servers/default-ssl
输入以下内容
server {
    listen       443;
    server_name  localhost;
    root       /var/www/default/;

    access_log  /usr/local/var/logs/nginx/default-ssl.access.log  main;

    ssl                  on;
    ssl_certificate      ssl/localhost.crt;
    ssl_certificate_key  ssl/localhost.key;

    ssl_session_timeout  5m;

    ssl_protocols  SSLv2 SSLv3 TLSv1;
    ssl_ciphers  HIGH:!aNULL:!MD5;
    ssl_prefer_server_ciphers   on;

    location / {
        include   /usr/local/etc/nginx/conf.d/php-fpm;
    }

    location = /info {
        allow   127.0.0.1;
        deny    all;
        rewrite (.*) /.info.php;
    }

    error_page  404     /404.html;
    error_page  403     /403.html;
}
重启所有服务
?  ~ brew services restart nginx
?  ~ brew services restart php@7.2
?  ~ brew services restart mysql@5.7
至此整合完毕!
测试
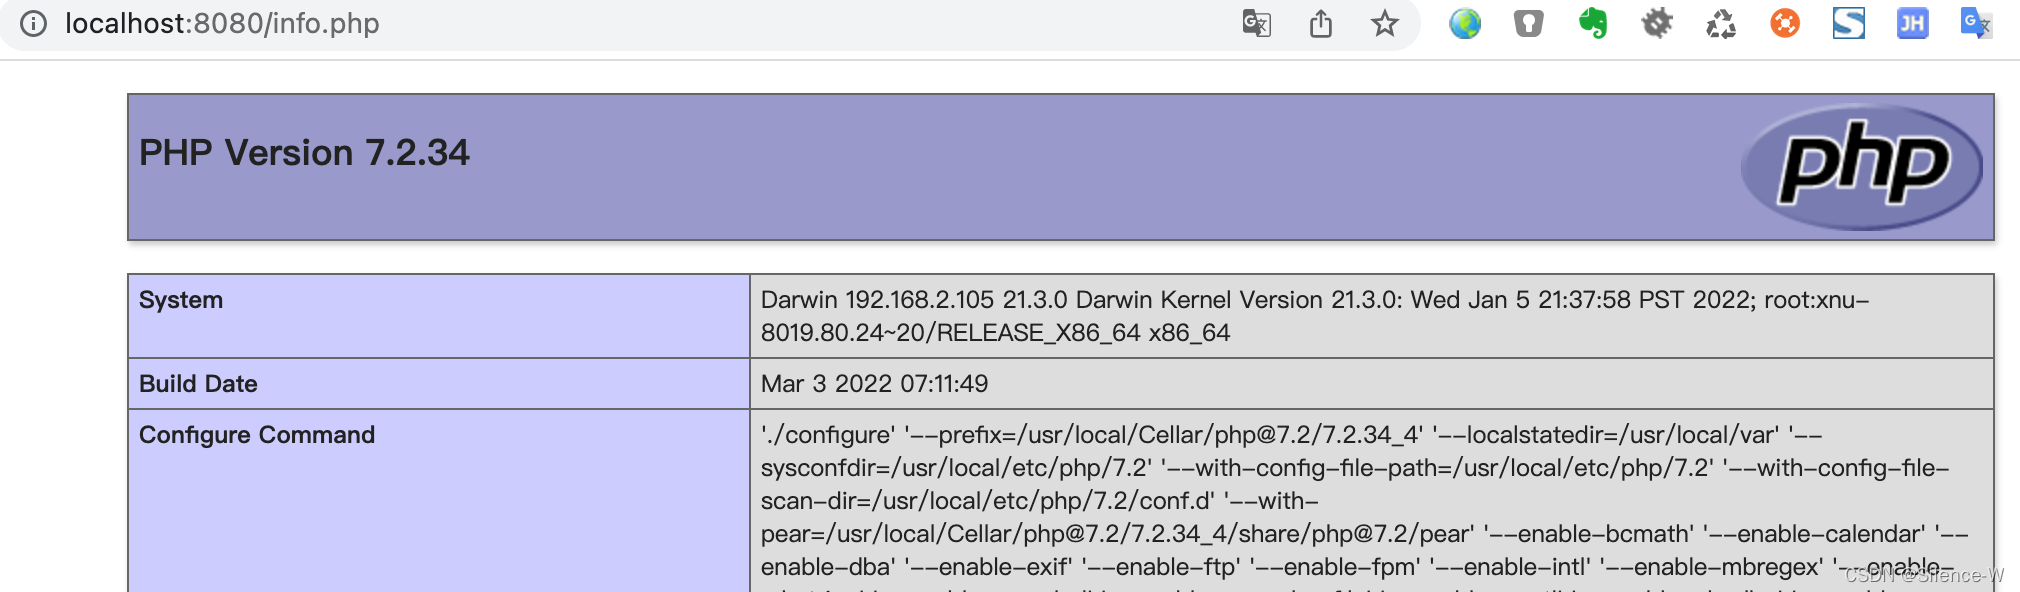
#编辑info.php
$ vi /var/www/default/info.php
#输入以下内容
<?php
 phpinfo();
?>
#保存
访问http://localhost:8080/info.php
五、安装Composer
?  ~ brew search composer
==> Formulae
composer                                 kompose

==> Casks
code-composer-studio                     composercat
?  ~ brew install composer
==> Downloading https://mirrors.ustc.edu.cn/homebrew-bottles/bottles/composer-2.
######################################################################## 100.0%
==> Pouring composer-2.2.7.monterey.bottle.tar.gz
🍺  /usr/local/Cellar/composer/2.2.7: 3 files, 2.3MB
==> Running `brew cleanup composer`...
Disable this behaviour by setting HOMEBREW_NO_INSTALL_CLEANUP.
Hide these hints with HOMEBREW_NO_ENV_HINTS (see `man brew`).
?  ~ composer -V
Composer version 2.2.7 2022-02-25 11:12:27