使用Git拉取和推送到仓库
0、前置工作
首先安装和配置git ,参考:
没有仓库的情况
创建仓库然后复制其地址,建立远程链接:
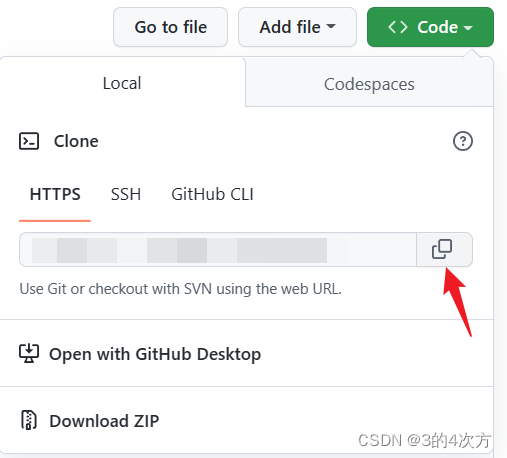
有仓库的情况
直接复制仓库地址,然后使用命令clone拉取整个仓库:
git clone xxxxx.git # 要拉取的仓库地址
1、git 第一次上传文件到仓库
1、进入要上传文件的目录 (右键 Git Bash here)
执行:
git init # 初始化当前目录下的git仓库

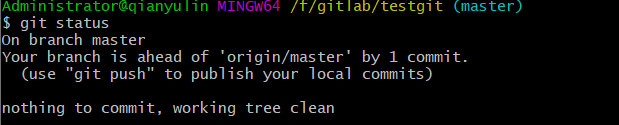
2、查看仓库当前状态
git status

3、提交文件到仓库
git add .
# 或者
git add <file>

4、保存到仓库
git commit -m "我新建了一个文件"

5、在查看github上仓库的地址

6、设置远程仓库地址,建立连接:
git remote add origin xxxx.git # 远程仓库地址

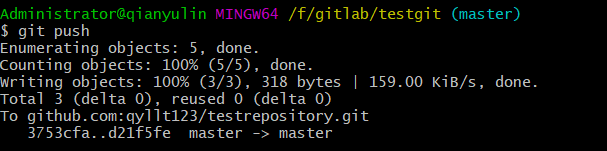
7、提交代码到仓库
git push -u origin master

8、查看提交的代码

2、拉取仓库代码修改并提交
1、拉取代码
git pull

2、修改代码,查看状态
# 在本地修改文件(新增一行) ,然后用git status查看状态
git status

3、提交代码
git push # 提交代码到github
总结:
git add .将项目添加到暂存区git commit -m "注释内容"将项目提交到本地git仓库git push将项目提交到远程git仓库